This is how you find all your account, instance, and billing
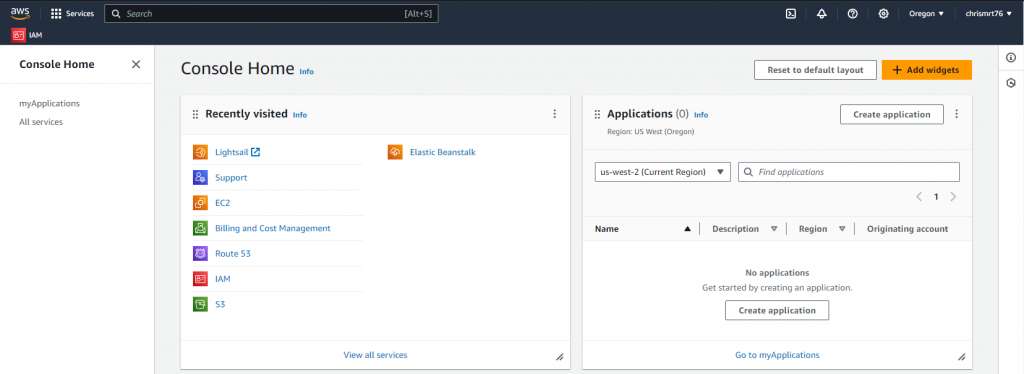
You can go to the search button at the top left of the page and type”Lightsail”
This will take you to where you can create your first Amazon Lightsail instance
STEP THREE:
If you have completed the last bullet point on step two you should be at the Instance part of Amazon Lightsail
There were are going to click on the “Create Instance” button in the middle right of the page
Disclosure
These next steps are what I chose for my project you can change these steps to suit your website or client’s website.
Also, you can always scale up in an Amazon AWS instance and down but just be aware and be careful so start small because you can always scale up.
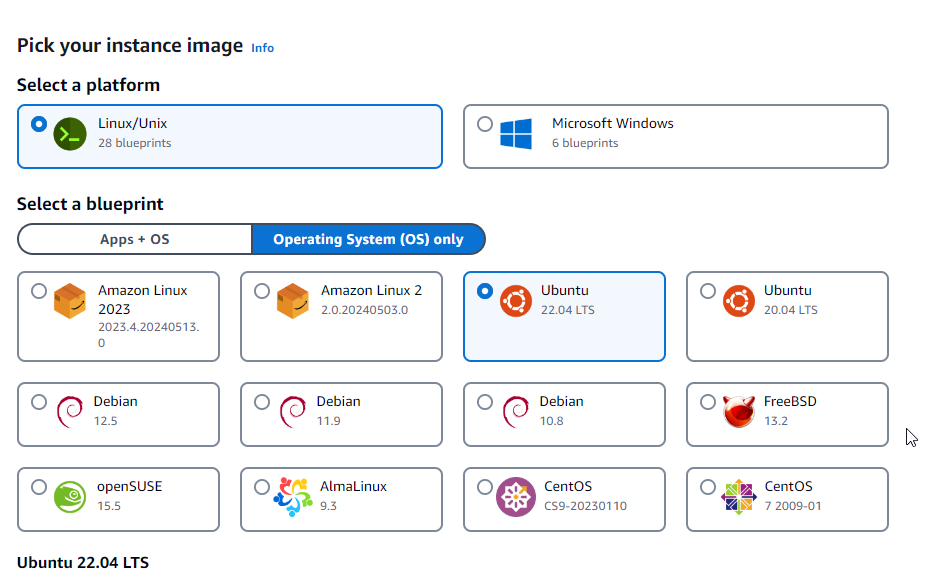
STEP FOUR:
Change to Operating System(OS) only
Select Ubuntu 22.04 LTS
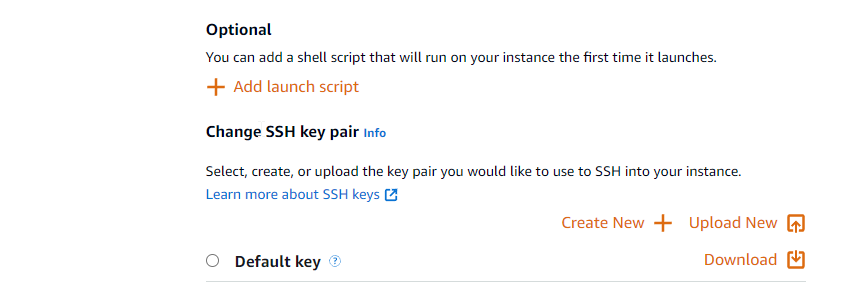
Next, scroll down to the next section
This is where you will add your SSH key OR you can leave it default.
We will go over adding an SSH key in the next step
STEP FIVE:
The first step is going to be opening Windows PowerShell
Second, we will generate an SSH key using SSH Keygen
You can run the command(ssh-keygen -t rsa -b 4096 -C “your_email@eample.com”)
Then you will be prompted to save the key to a default location(C:\Users\YourUsername\.ssh\id_rsa)
Now you can copy your public key using this command (Get-Content C:\Users\YourUsername\.ssh\id_rsa.pub | Set-Clipboard)
You can now upload your public SSH by hitting the upload new tab and that will search through your file but make sure to only select the public key.
Disclosure
DO NOT SHARE PRIVATE KEY WITH ANYONE; DELETE IT AND CREATE A NEW ONE IF SO.
This will help others communicate with you through SSH by encrypting what they want with your public key and sending it to you and since you have the private key you are the only one that can decrypt it.
STEP SIX:
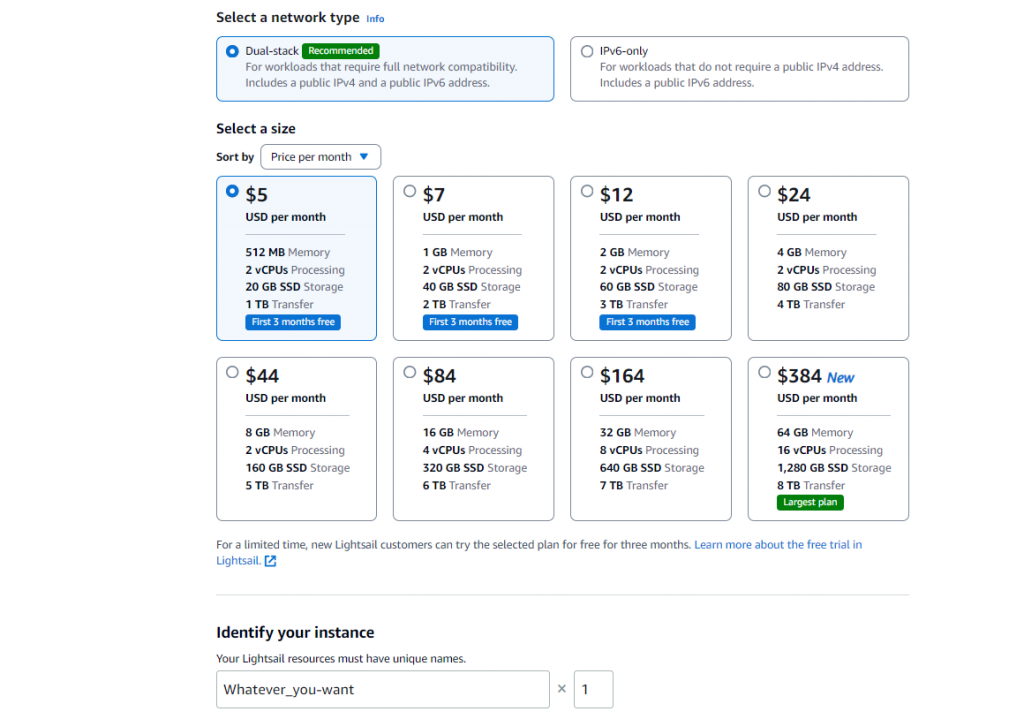
After adding your key we can scroll down and choose your instance plan.
this is where I would recommend using a Dual Stack(this allow for you to have both IPv4 and IPv6)
Then I would select 2GB Memory, 2 vCPUs Processing, 60GB SSD Storage, and 3TB Transfer (this is even still a little bit beefy for just a personal website from my experience.)
Last I would just label this whatever you want it to be to help identify what is what. Then hit the “Create Instance”